

A “quick weekend project” can easily turn into a half-finished room on Sunday night. The paint needed more preparation than expected, the cabinet pulls did not match the existing holes, or the peel-and-stick tile turned out to be incompatible with the wall.
The best weekend DIY projects have a small, clearly defined scope, use tools you already understand, and leave enough time for preparation and finishing. The goal is not to rush a big renovation into two days. It is to choose a project that can realistically move from preparation to a clean result without creating unnecessary risk or disruption.
A useful sequence is:
Choose → inspect → measure → prepare → test → complete → finish → cure
That approach works whether you are painting one wall, changing cabinet hardware, refreshing a small furniture piece, or adding simple weatherstripping.
Choose Projects That Are Actually Weekend-Sized
A project belongs on your weekend list when its scope is predictable.
Focus on Cosmetic and Surface-Level Updates
Good beginner-friendly options often involve:
- Painting
- Replacing hardware
- Applying compatible adhesive products
- Recaulking an existing seam
- Weatherstripping
- Refreshing small furniture
- Hanging lightweight wall décor
- Adding shelf or drawer liner
These projects usually allow you to stop, inspect, or correct mistakes without opening walls or changing major building systems.
Avoid Projects That Can Expand Quickly
A low-risk weekend project should generally not depend on:
- New electrical circuits
- Moving outlets or switches
- Gas work
- Moving plumbing
- Structural wall changes
- Major tile demolition
- Roofing
- Large flooring replacement
- Significant demolition
Once a project involves hidden wiring, plumbing, structural framing, or major water damage, it is no longer the same simple task you planned.
Count Drying and Curing Time
Hands-on time and project-complete time are not always the same.
You may finish applying a product in a few hours while still needing additional time for:
- Paint drying
- Recoating
- Caulk curing
- Stain drying
- Protective finish curing
- Adhesive bonding
Conditions such as temperature, ventilation, humidity, and coating thickness can affect some finishes.
Always use the exact product instructions instead of assuming that everything will be ready by Sunday evening.
Screen Older Painted Surfaces Before Disturbing Them
If your project involves sanding, scraping, drilling, or cutting through old painted surfaces, identify the age and condition of the material first.
For U.S. homes built before 1978, EPA guidance warns that disturbing lead-based paint can create hazardous dust. Other countries may have their own rules and guidance.
This matters when working on:
- Walls
- Old doors
- Painted cabinets
- Furniture
- Trim
Do not automatically begin aggressive sanding on an unknown old coating.
Prepare Before the Weekend Starts
Much of the work that determines whether you finish on time can be done before Saturday.
Measure Before Shopping
Record the dimensions that actually matter for your project.
Examples include:
- Wall width and height
- Cabinet hardware hole spacing
- Backsplash area
- Furniture dimensions
- Door or window gaps
- Picture-frame sizes
A few minutes with a tape measure can prevent an unnecessary trip to the store midway through the job.
Inspect the Existing Surface
Ask:
- Is it clean?
- Is it dry?
- Is it smooth?
- Is paint loose?
- Is there old caulk?
- Is the wall textured?
- Is the wood already coated?
- Is there damage underneath?
Surface condition can completely change the scope.
Read Product Instructions Before Opening Anything
Check:
- Compatible surfaces
- Preparation requirements
- Application temperature
- Dry or recoat time
- Cure time
- Weight limits
- Ventilation
- Required tools
A product that looks easy to install may have limitations you did not expect.
Gather Your Tools
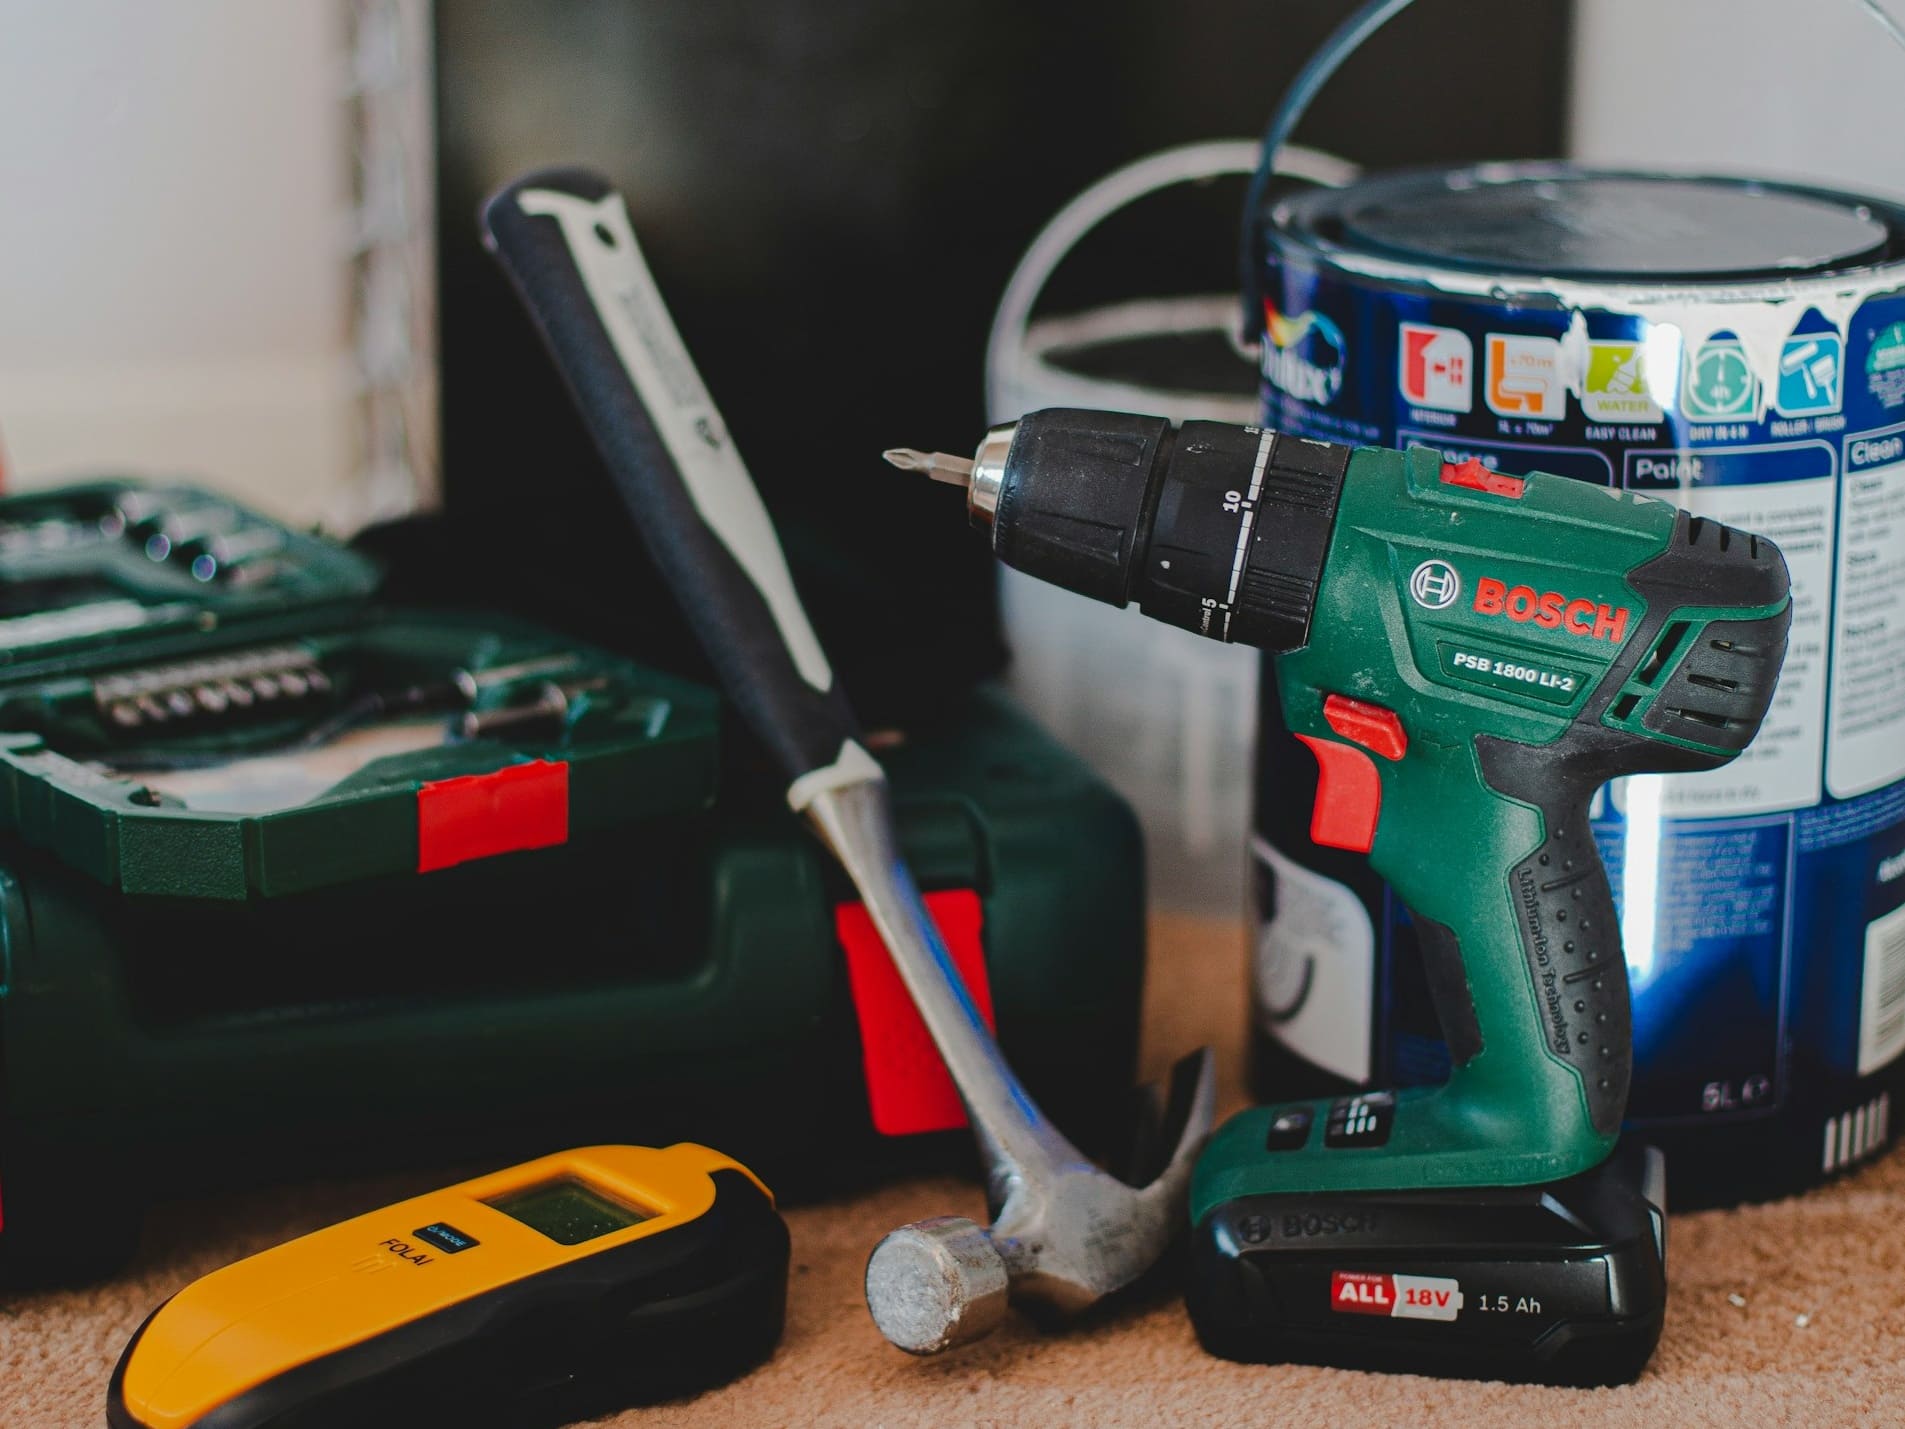
A basic DIY kit might include:
- Tape measure
- Pencil
- Level
- Screwdriver
- Drill where appropriate
- Straightedge
- Utility knife
- Painter’s tape
- Drop cloth
- Cleaning cloths
- Protective equipment required by the product or tool
Not every project needs all of these.
Test First When Practical
Before committing to the full project, test:
- One paint patch
- One cabinet pull
- One backsplash tile
- One section of furniture finish
- One adhesive hanger
A small test can reveal compatibility or alignment problems before they spread across the whole job.
Weekend DIY Projects at a Glance
| Project | Key Preparation | Typical Tools | Estimated Complexity | Best Weekend Fit | Finishing Issue to Plan For |
|---|---|---|---|---|---|
| Paint an accent wall | Clean, repair, test paint | Roller, brush, tray, tape | Easy | 1–2 days | Dry/recoat time |
| Replace cabinet hardware | Measure existing holes | Screwdriver, drill if needed, template | Easy to Easy–Moderate | 1 day | Alignment |
| Peel-and-stick backsplash | Smooth, clean, dry wall + layout | Tape measure, level, straightedge, cutter | Easy–Moderate | 1–2 days | Adhesion and precise cuts |
| Recaulk a sink or tub seam | Remove old caulk; clean and dry | Caulk tool/gun as required | Easy–Moderate | 1 day + cure | Cure before water exposure |
| Add weatherstripping | Identify gap; clean and dry frame | Tape measure, scissors or suitable cutter | Easy | 1 day | Correct product and conditions |
| Refresh small wood furniture | Clean, repair, sand if appropriate | Sandpaper, brush or cloth | Easy–Moderate | 2 days | Finish drying and curing |
| Create a lightweight gallery wall | Plan full layout first | Paper, tape, level, hanging system | Easy | 1 day | Hanger/surface compatibility |
| Line drawers or shelves | Empty, clean, measure | Tape measure, straightedge, scissors | Easy | 1 day | Accurate trimming |
These complexity ratings assume a straightforward version of each project. Your existing surfaces, materials, tools, and product instructions can make the same idea more complicated.
Project 1: Paint One Accent Wall
Painting one wall is a more realistic beginner weekend project than repainting an entire room.
Why It Works
The scope stays controlled:
- One wall
- One color
- Limited furniture movement
- Less cutting-in
- Less cleanup
Preparation
Before painting:
- Remove wall décor.
- Move or cover nearby furniture.
- Protect the floor.
- Clean the wall where necessary.
- Repair minor holes or defects.
- Allow repairs to dry.
- Prime where the chosen paint system requires it.
A sound paint surface should generally be clean, dry, and properly repaired before coating.
Tools
You may need:
- Drop cloth
- Painter’s tape
- Roller
- Brush
- Paint tray
- Patch material
- Primer where required
Complexity
Easy
It becomes Easy–Moderate when there is significant patching, sanding, staining, or surface damage.
Finishing Tips
- Follow the label’s recoat time.
- Keep the space appropriately ventilated.
- Do not add another coat just because the surface feels dry.
- Check coverage after drying and from different angles.
If you want more ideas for cosmetic updates that still look intentional, Mellora’s DIY Home Décor Ideas That Don’t Look Homemade is a useful next read.
Project 2: Replace Cabinet Knobs or Pulls
Cabinet hardware can change the look of a kitchen or bathroom without repainting or replacing the cabinets.
Keep It Simple by Reusing Existing Holes
The easiest version is choosing new hardware that fits the existing mounting holes.
If the hole spacing changes, you may need to:
- Drill new holes
- Fill old holes
- Refinish the surface
That changes the project considerably.
Preparation
Before buying replacements:
- Remove one existing pull.
- Measure the distance between mounting holes.
- Check door or drawer thickness.
- Confirm the new screws fit.
- Test one piece before replacing everything.
Tools
For a direct replacement:
- Screwdriver
- Tape measure
For new holes:
- Drill
- Correct drill bit
- Pencil
- Hardware jig or template where useful
Complexity
Easy when using existing holes.
Easy–Moderate when drilling new holes.
Finishing Tips
- Install one sample first.
- Stand back and check placement visually.
- Use consistent alignment.
- Tighten hardware securely without overtightening.
Overtightening can damage some cabinet doors or drawer fronts.
Project 3: Add a Peel-and-Stick Backsplash
A small peel-and-stick backsplash can fit a weekend, but success depends heavily on the wall.
Check the Surface First
A compatible wall usually needs to be:
- Smooth
- Clean
- Dry
- Stable
- Suitable for the adhesive product
Textured walls, fresh paint, grease, or incompatible finishes can interfere with adhesion.
Plan the Layout Before Removing Backing
Use this sequence:
- Determine your starting point.
- Dry-fit pieces.
- Check level.
- Plan visible cuts.
- Check pattern alignment.
Do not assume the countertop itself is perfectly level.
Tools
Depending on the product:
- Tape measure
- Level
- Pencil
- Straightedge
- Utility knife or manufacturer-specified cutting tool
- Cutting surface
Some peel-and-stick products require different cutting methods, so check the instructions.
Complexity
Easy–Moderate
Corners, irregular shapes, and obstacles can increase difficulty.
Finishing Tips
- Keep the first row straight.
- Confirm alignment before applying full pressure.
- Work from a reference line.
- Plan cuts before installation.
Once fully bonded, some adhesive tiles can be difficult to reposition and may damage the surface during removal.
Also check product restrictions around:
- Stoves
- Sinks
- Heat sources
- High-moisture areas
before installation.
Project 4: Recaulk a Sink, Tub, or Counter Seam
Renewing a simple existing caulk joint can be a manageable weekend job.
Know What Caulk Can and Cannot Fix
Caulk may be appropriate for renewing an existing seal around:
- Sink edges
- Tub joints
- Counter transitions
- Backsplash seams
It should not be used to hide:
- Active leaks
- Rotten material
- Loose fixtures
- Major water damage
Those conditions need to be addressed first.
Remove Old Material
Preparation usually matters more than squeezing out a new bead.
The joint should generally be:
- Free of failed caulk
- Clean
- Dry
- Suitable for the chosen product
Tools
Depending on the caulk:
- Caulk
- Caulk gun
- Removal tool
- Surface-safe scraper
- Cleaning cloth
- Tooling or finishing tool
Complexity
Easy–Moderate
Removing old material neatly can take longer than applying the new caulk.
Finishing Tips
- Apply a controlled bead.
- Smooth or tool it according to the product directions.
- Clean edges at the appropriate stage.
- Respect the full cure time before water exposure.
Do not assume all kitchen and bath caulks have the same curing schedule.
Project 5: Add Weatherstripping
Weatherstripping is one of the simplest functional weekend updates when the existing door or window is otherwise in good condition.
Identify the Gap
Do not buy one generic weatherstripping product for every opening.
Products can vary according to:
- Gap size
- Door or window type
- Surface material
- Application temperature
Clean Before Applying
Self-adhesive products generally need a clean surface.
Remove:
- Dust
- Loose dirt
- Oil
- Residue
according to the product instructions.
Measure Before Cutting
A simple sequence is:
- Measure the required length.
- Dry-position the strip.
- Cut as directed.
- Apply according to the instructions.
- Test the door or window.
Tools
You may need:
- Tape measure
- Scissors
- Utility knife if permitted
- Cleaning cloth
Complexity
Easy
Finishing Tips
- Avoid stretching adhesive weatherstrip unless instructed.
- Check corners.
- Make sure the door or window still closes correctly.
- Follow any application-temperature requirements.
Project 6: Refresh a Small Wood Furniture Piece
A side table or stool is a more realistic weekend refinishing project than an entire dining set.
Keep the Piece Small
Good candidates include:
- Side table
- Stool
- Small bench
- Simple shelf unit
Identify the Existing Finish
Determine whether the piece needs:
- Cleaning only
- Light sanding and recoating
- Staining of bare wood
- Removal of a failing finish
A complete finish removal is more involved than a light refresh.
Prepare the Wood
Depending on the existing condition and finish system, preparation may include:
- Cleaning
- Removing grease or wax
- Sanding
- Removing sanding dust
The wood should be suitable for the exact finish you plan to use.
Tools
Possible tools include:
- Sandpaper
- Sanding block
- Dust-removal supplies
- Brush
- Lint-free cloth
- Stain or finish
- Protective equipment specified by the product
Complexity
Easy–Moderate
Finishing Tips
- Sand with the grain where sanding is appropriate.
- Remove dust thoroughly.
- Apply controlled coats.
- Follow specified dry and recoat times.
- Allow the final finish enough time before putting the furniture back into full use.
Temperature, ventilation, humidity, and heavy coats can affect drying.
If the furniture has an unknown old painted coating, screen it appropriately before sanding.
Project 7: Create a Lightweight Gallery Wall
A gallery wall can create a large visual change with very little construction.
Plan on the Floor First
Arrange your frames before attaching anything to the wall.
Consider:
- Overall shape
- Spacing
- Frame sizes
- Visual balance
Use Paper Templates
Trace the frame shapes onto paper and tape them to the wall.
This makes it easier to adjust:
- Height
- Spacing
- Alignment
- Outer edges
before making holes or applying adhesive.
For more detailed layout ideas, see Easy DIY Wall Décor Ideas for Blank Walls That Look Intentional.
Tools
Possible tools include:
- Paper
- Pencil
- Scissors
- Painter’s tape
- Tape measure
- Level
- Suitable hanging hardware or adhesive system
Complexity
Easy
Match Hanging Method to Surface and Weight
If using adhesive hangers, check:
- Weight rating
- Wall compatibility
- Surface-preparation requirements
- Restrictions for newly painted walls
- Restricted surfaces
Do not assume removable adhesive is automatically safe for every wall or guaranteed to leave no damage.
Finishing Tips
- Step back before final installation.
- Keep spacing deliberate.
- Adjust paper templates rather than finished frames.
- Stop before every empty section of wall is filled.
Project 8: Line Cabinet Shelves and Drawers
Shelf and drawer liners are one of the lowest-risk weekend updates.
They can also pair well with a wider storage reset. Mellora’s Kitchen Storage Ideas for Cabinets, Counters, and Small Spaces can help if you are reorganizing at the same time.
Empty and Clean First
Do not install liner over:
- Crumbs
- Grease
- Moisture
- Loose debris
Measure Every Space
Cabinets and drawers that look identical may have slightly different dimensions.
Measure:
- Width
- Depth
- Drawer shape
- Obstacles
Dry-Fit Before Final Placement
For removable liner:
- Cut slightly conservatively.
- Test it.
- Trim where necessary.
- Lay it flat.
For adhesive products, follow the manufacturer’s preparation and application instructions.
Tools
Usually:
- Tape measure
- Pencil
- Straightedge
- Scissors or appropriate cutter
Complexity
Easy
Finishing Tips
- Keep cuts straight.
- Work out wrinkles gradually.
- Choose adhesive or removable liner based on the cabinet surface and your future plans.
Plan a Two-Day DIY Weekend Without Rushing
A weekend project works best when the two days have different jobs.
Before the Weekend
Complete:
- Measurements
- Materials shopping
- Surface inspection
- Product-instruction review
- Tool gathering
- Compatibility checks
Day 1: Prepare and Do the Messiest Work
This may include:
- Emptying the area
- Cleaning
- Minor repairs
- Removing old hardware or caulk
- Safe sanding where appropriate
- Making cuts
- Dry-fitting
- Applying a first coat
- Beginning installation
Day 2: Finish and Inspect
Possible tasks include:
- Additional coating where allowed
- Final hardware installation
- Final trimming
- Touch-ups
- Alignment checks
- Cleanup
A product may still need additional curing after the hands-on portion is complete.
Don’t Let Sunday Night Set the Cure Time
If a coating, adhesive, or caulk needs longer than the weekend to reach full use, give it that time.
Finishing the active work and allowing the product to cure properly is better than rushing the final stage simply to call the project “done.”
Finishing Tips That Make Simple DIY Look Better
Small projects often look more polished when you slow down at a few key moments.
Preparation Is Part of the Finish
A clean result often starts with:
- Cleaning
- Measuring
- Patching
- Safe sanding where needed
- Dry-fitting
Test Before Committing
Test:
- Paint
- Stain
- Adhesive tile
- Hardware
- Wall hangers
when practical.
Work From a Reference Line
Do not assume a:
- Countertop
- Ceiling
- Cabinet
- Floor
is perfectly level.
Use a level or measured reference where alignment matters.
Fix Errors Early
A crooked first tile can affect an entire backsplash.
A misplaced first cabinet pull can become a repeated mistake across every door.
Correct the first error before continuing.
Respect Dry and Cure Times
A surface that feels dry may not be ready for:
- Another coat
- Water exposure
- Heavy use
- Adhesive hanging
- Furniture placement
Follow the exact product guidance.
Clean Up Properly
At the end, remove:
- Dust
- Drop cloths
- Packaging
- Adhesive backing
- Offcuts
- Project debris
Store leftover products according to their labels.
Common Weekend DIY Mistakes
Choosing Too Large a Project
Painting one wall may fit easily into a weekend.
Painting:
- Walls
- Ceiling
- Trim
- Doors
in the same period can turn a controlled project into a rush.
Starting Before Shopping Is Finished
Missing one fastener, tool, or material can stop the project completely.
Skipping Surface Preparation
Paint, adhesives, caulk, weatherstripping, and wood finishes all rely on suitable surfaces.
Assuming Dry Means Cured
These are not necessarily the same.
Use the label rather than touch alone.
Forgetting to Test Cabinet Hardware
New pulls may create more work if the old holes do not match.
Installing Peel-and-Stick Material Without a Layout
Once strongly bonded, repositioning can be difficult.
Plan first.
Sanding Unknown Old Paint
Older coatings may require hazard screening before disturbance.
Assuming Adhesive Products Work Everywhere
Restrictions may apply to:
- Wallpaper
- Textured surfaces
- New paint
- Porous surfaces
- High heat
- Certain coatings
Turning a Cosmetic Job Into a Repair Project
Stop if you uncover:
- Rot
- Active leakage
- Significant water damage
- Major mold problems
- Loose plumbing
- Damaged wiring
- Structural movement
The project has changed.
Rushing Just to Finish Sunday
A clean result that still needs curing is better than a rushed final coat or failed adhesive.
Know When to Call a Professional
Knowing when to stop is part of good DIY judgment.
Pause if the work involves:
- Unfamiliar electrical systems
- Gas
- Moving plumbing
- Structural framing
- Major water damage
- Significant mold remediation
- Suspected hazardous coatings
- Major demolition
- Permits or inspections you do not understand
For U.S. pre-1978 homes, work that may disturb lead-based paint requires particular care under EPA guidance.
Replacing a cabinet knob is one project. Discovering damaged cabinet structure behind it is another.
Do not force the second problem into the scope of the first.
Frequently Asked Questions About Weekend DIY Projects
What Are the Best Weekend DIY Projects for Beginners?
Good options include:
- Painting one accent wall
- Replacing cabinet hardware
- Installing a compatible peel-and-stick backsplash
- Recaulking an existing seam
- Adding weatherstripping
- Refreshing a small wood furniture piece
- Creating a gallery wall
- Adding shelf or drawer liner
Choose based on your actual surfaces, tools, and experience.
How Do I Choose a DIY Project I Can Finish in a Weekend?
Look for:
- One defined area
- Limited materials
- Known surface conditions
- No major demolition
- No significant electrical or plumbing work
- Drying and curing requirements you understand
What DIY Projects Can I Do Without Power Tools?
Depending on the product and surface, possibilities include:
- Painting
- Weatherstripping
- Shelf liners
- Some wall décor
- Some caulking
- Certain furniture finishing
Is Peel-and-Stick Backsplash a Good Weekend Project?
It can be if the wall is:
- Compatible
- Smooth
- Clean
- Dry
- Relatively simple to cut around
Complex shapes or unsuitable surfaces can make the job much harder.
Can I Replace Cabinet Handles Myself?
Usually, a direct replacement using the existing holes is beginner-friendly.
Drilling new holes raises the difficulty because alignment and measurements become more important.
Can I Recaulk a Bathtub in One Weekend?
The hands-on work can fit easily into a weekend when you are replacing an existing suitable joint.
The new product still needs the required curing period before water exposure.
Can I Paint and Decorate the Same Wall in One Weekend?
Sometimes, but newly painted walls may not be ready immediately for adhesive hanging products.
Follow both the paint and hanging-system manufacturer’s instructions.
What If My DIY Project Becomes More Complicated?
Stop and reassess.
Do not continue automatically if you discover:
- Active leaks
- Hidden damage
- Unknown wiring
- Structural deterioration
- Hazardous materials
- Work beyond your experience
Conclusion
The most successful weekend DIY projects are not necessarily the smallest-looking projects. They are the ones with controlled scope, predictable preparation, familiar tools, and enough time for the final material to dry, bond, or cure correctly.
Use this sequence:
Choose → inspect → measure → prepare → test → complete → finish → cure
Choose low-risk cosmetic work. Measure before shopping. Inspect the surface before buying products. Test one area before committing to the whole job.
Keep painting projects small, reuse existing cabinet holes where possible, plan peel-and-stick layouts before applying pressure, remove failed caulk before resealing, and choose weatherstripping according to the actual opening.
With furniture, allow finishes the time they need. With wall décor, plan the full layout before making holes. With adhesive products, respect surface restrictions and load limits.
Most importantly, stop if hidden damage changes the scope of the project.
Pick one visible problem area in your home—not an entire room—and spend a few minutes inspecting it, measuring it, listing the tools, and reading the product instructions. If the project still feels simple after that, it probably deserves a place on this weekend’s list.