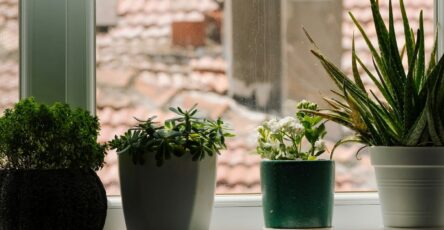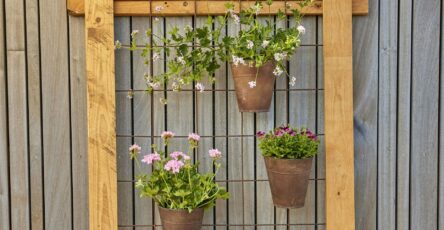

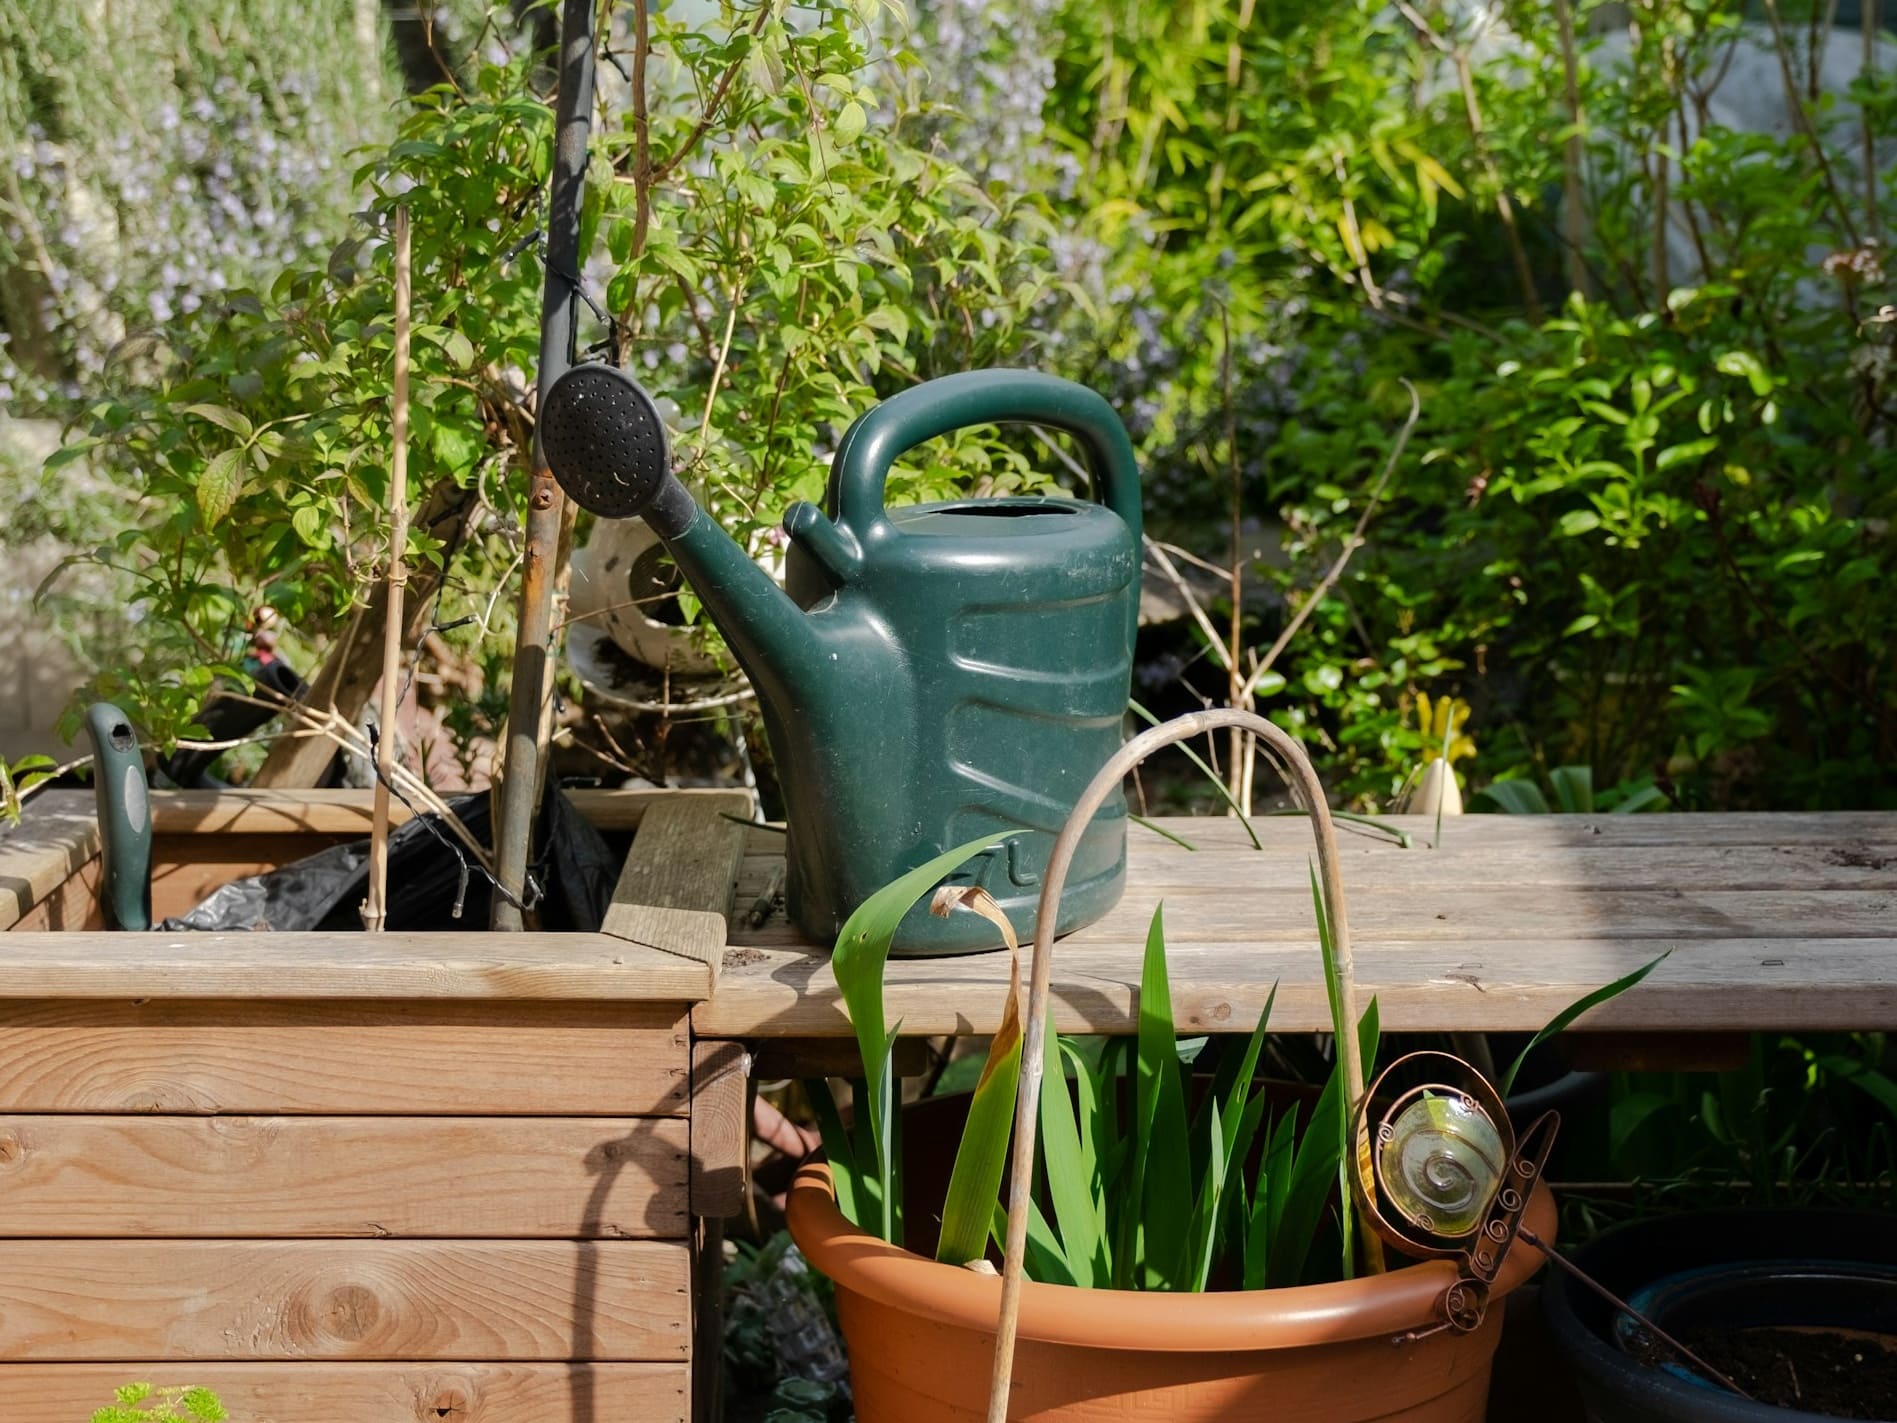
You don’t need a backyard, raised beds, or years of gardening experience to grow herbs, vegetables, and flowers. A balcony, patio, doorstep, or other small outdoor space can be enough to build a rewarding container garden.
For beginners, the challenge is usually not finding a pot and a plant. It is understanding how growing in a container changes the way you manage drainage, soil, sunlight, watering, and feeding. Get those basics right, and container gardening becomes much easier to manage.
This guide walks you through the process from choosing your growing space and container to planting, watering, feeding, and avoiding the mistakes that commonly cause new container gardens to struggle.
Start With Your Growing Space, Not the Plants
It is tempting to visit a garden center, choose the plants you like, and figure out where to put them afterward. A better approach is to understand your growing space first.
Check How Much Sun the Space Actually Gets
A place can look bright without receiving much direct sunlight.
Before choosing plants, watch your intended growing area during the day. Check it in the morning, around midday, and later in the afternoon. Notice whether buildings, fences, trees, balcony railings, or roof overhangs cast shade.
Then choose plants that match the conditions you actually have.
Read nursery labels and seed packets carefully. A tomato intended for a sunny position, for example, should not be selected simply because you have an attractive empty spot that stays shaded for much of the day.
Fruiting vegetables such as tomatoes and peppers generally need substantial direct sunlight, while some leafy crops can tolerate less. Exact requirements vary by plant and variety, so use the plant label or a reliable plant-specific growing guide as your final reference.
One advantage of containers is mobility. If the pot is manageable, you may be able to reposition it as sunlight patterns change during the season.
Think About Water, Wind, and Convenience
Sunlight is only part of the decision.
Consider whether the area is windy, protected by a roof, close to a water source, or difficult to reach. Wind, sunlight, weather, plant size, and container size can all affect how quickly potting mix dries.
A planter tucked beneath a covered balcony may receive little natural rainfall. A container in an exposed windy position may need checking more frequently.
Convenience matters too. If a thirsty planter is difficult to reach, you are more likely to forget about it. Place containers somewhere you can realistically inspect as part of your normal routine.
Choose the Right Container
The container is not simply decoration. Its size, material, and drainage all affect how easily you can keep your plant healthy.
Match the Pot Size to the Plant
Think about what the plant will become rather than how small it is when you buy it.
Small herbs and compact flowers may grow comfortably in relatively modest containers. Vigorous plants such as tomatoes, cucumbers, and larger ornamentals need considerably more room for their roots and mature growth.
Avoid relying on one universal pot size. Instead:
- Check the mature size of the plant.
- Read seed packets or plant labels for spacing and container guidance.
- Look for reliable plant-specific recommendations if you are growing a larger crop.
- Choose a container that gives the roots enough room to develop.
When you are uncertain, a reasonably generous container is often easier to manage than one that is clearly undersized.
Understand How Container Material Changes Care
There is no single best container material for every gardener. Each option has tradeoffs.
| Container type | Main advantage | Main drawback | Moisture behavior | Good beginner use |
|---|---|---|---|---|
| Plastic/resin | Lightweight and affordable | Can weather over time | Retains moisture relatively well | Herbs, flowers, vegetables |
| Terracotta | Attractive and porous | Heavy, breakable, and dries faster | Loses moisture relatively quickly | Herbs and other suitable plants |
| Glazed ceramic | Decorative and less porous | Often heavy | Usually retains moisture longer than unglazed clay | Patio ornamentals |
| Fabric grow bag | Lightweight and easy to store | Can dry quickly | Higher moisture loss | Vegetables |
| Self-watering planter | Can reduce watering workload | Must be set up correctly | Reservoir helps maintain moisture | Busy beginners |
Porous materials such as unglazed clay generally lose moisture faster than plastic or glazed containers. That means the same plant may need different watering attention depending on the pot it is growing in.
Choose based on your plant, location, watering habits, and how easy the container will be to move.
Drainage Is Non-Negotiable
One of the most important rules in container gardening is simple: excess water needs somewhere to go.
Why Pots Need Somewhere for Excess Water to Go
Plant roots require moisture, but they also need access to air. When a normal container cannot release excess water, the growing medium can remain saturated.
Before planting:
- Check that the container has suitable drainage openings.
- Make sure the holes are not blocked.
- Position the pot so water can escape freely.
- Empty saucers that remain filled with water rather than leaving an ordinary pot continuously submerged.
Purpose-built self-watering containers work differently. They use a reservoir system and should be set up according to their design and manufacturer instructions.
Skip the Gravel-at-the-Bottom Myth
You may have heard that adding gravel or rocks to the bottom of a pot improves drainage.
It does not replace proper drainage holes, and it does not improve drainage in the way many beginners expect.
Instead, start with a suitable container that can drain and fill it with an appropriate container-growing mix.
If a drainage opening is so large that potting mix falls through it, a porous material can be used to help keep the mix in place without sealing the opening.
Use Potting Mix, Not Ordinary Garden Soil
The growing medium inside a container has to do several jobs at once. It must hold enough moisture for the roots while still allowing drainage and air movement.
Ordinary garden soil is generally not the easiest choice for pots because it can become too dense in a confined container.
What Makes Container Potting Mix Different
For a beginner, the simplest option is usually a packaged mix intended specifically for pots or containers.
Depending on the product, you may see ingredients such as:
- Coir
- Composted bark
- Peat
- Perlite
- Vermiculite
- Compost
Not every potting mix contains the same ingredients, and different formulations are designed for different purposes.
Read the label before using it. Some commercial mixes also contain fertilizer, which is important to know before you begin adding additional plant food.
Pre-Moisten Very Dry Potting Mix
Some dry growing media can initially resist water.
If your mix is extremely dry:
- Put the amount you need into a tub or suitable container.
- Add water gradually.
- Mix it until the material is evenly moist rather than saturated.
- Add it to the planter without packing it down tightly.
This gives you a more evenly moistened starting medium for planting.
Choose Beginner-Friendly Plants That Fit the Conditions
The easiest plant for your neighbor may not be the easiest plant for you.
Plant choice should depend on:
- Available sunlight
- Mature plant size
- Root space
- Climate
- Season
- Water requirements
- Whether you want food, flowers, fragrance, or foliage
Good Categories for a First Container Garden
For herbs, possibilities include basil, parsley, chives, thyme, and oregano.
For leafy crops, lettuce and similar compact greens can be suitable choices.
If you have enough sunlight and container space, compact peppers and container-suitable tomato varieties are possibilities for a vegetable garden.
For flowers, choose varieties appropriate for your local climate and the amount of sun your growing area receives.
Don’t Combine Plants Just Because They Look Good Together
A mixed container may look beautiful on the day you plant it, but plants sharing the same pot also share the same watering and growing environment.
Before combining plants, check whether they have broadly compatible:
- Light requirements
- Moisture preferences
- Mature sizes
- Seasonal growing needs
For example, herbs that prefer relatively dry conditions should not automatically be grouped with plants that prefer consistently higher moisture simply because they look attractive together.
How to Plant Your First Container Garden Step by Step
Once you have your plant, pot, and growing mix, the planting process can be straightforward.
- Choose a plant that matches your available sunlight.
- Select a container with enough space for its expected growth.
- Confirm that excess water can drain properly.
- Pre-moisten the potting mix if it is extremely dry.
- Fill the container without tightly compacting the mix.
- Leave some space between the growing medium and the top rim so watering is easier.
- Plant the seed or transplant at the recommended depth.
- Water gently and thoroughly after planting.
- Put the container in its intended growing location.
- Begin checking the moisture regularly rather than automatically watering on a fixed schedule.
For exact planting depth and spacing, follow the seed packet, plant label, or reliable guidance for that particular species.
Try a One-Pot Herb Garden First
If you want the simplest possible first project, start with one herb rather than creating a large mixed planter.
You need:
- One suitable herb
- One appropriately sized container
- Drainage
- Container potting mix
- A location matching the herb’s light requirements
Plant it, water it, monitor the potting mix, and harvest as it grows.
Learning how one container behaves in your space can teach you more than starting with ten pots that all require different care.
Get Sunlight Right After Planting
Not every container garden belongs in full sun.
Different plants have different light requirements, so follow the plant rather than a universal rule.
After planting:
- Read the plant tag.
- Keep the seed packet if you started from seed.
- Observe seasonal changes in sunlight.
- Move portable containers when practical.
- Remember that a bright-looking location is not necessarily receiving hours of direct sun.
Also pay attention to the environment around the container. Walls, paving, glass, and sheltered balconies can create growing conditions that differ from those in an open garden.
For exact sunlight and heat-tolerance requirements, follow reliable guidance for the species or cultivar you are growing.
Learn How to Water Containers Correctly
Watering is one of the areas where beginners are most likely to follow an overly simple rule.
There is no universal schedule such as “water every three days.”
How quickly a container dries depends on factors including:
- Weather
- Pot size
- Container material
- Sun exposure
- Wind
- Plant type
- Root development
Check the Potting Mix Before Watering
Instead of watering simply because it is a certain day of the week, check the container itself.
You can:
- Feel the potting mix below the surface.
- Notice how heavy a manageable container feels when wet compared with when it is becoming dry.
- Observe the condition of the growing medium.
Do not rely only on wilted leaves as your watering signal. Wilting can occur when plants are stressed for different reasons, including excessive moisture.
Water the Root Zone Thoroughly
When the plant needs water, apply it to the growing medium so moisture reaches the roots.
For an ordinary draining container:
- Water the growing medium rather than routinely soaking the foliage.
- Apply enough water to moisten the root zone.
- Make sure excess moisture can drain away.
- Avoid leaving the pot permanently standing in accumulated water.
If Water Rushes Straight Through a Very Dry Pot
Extremely dry growing media can sometimes pull away from the container wall or become difficult to rehydrate evenly.
In that situation, repeated slow watering may help the mix absorb moisture more evenly. Appropriate containers may sometimes be rehydrated more gradually rather than having a large amount of water poured through them all at once.
If the Pot Stays Wet for Days
Check:
- Whether the drainage openings are blocked.
- Whether the container is much larger than the plant needs.
- Whether you are watering too often.
- How much sunlight and airflow the container receives.
- Whether the growing medium has become compacted.
Avoid treating additional water as the solution to every struggling plant.
Feed Container Plants Without Overdoing It
Plants growing in the ground can explore a much larger area with their roots. Container plants live within a limited amount of growing medium, and nutrients can also be lost over time as containers are repeatedly watered.
That means many container plants eventually benefit from feeding.
Check the Potting Mix Before Adding Fertilizer
Before buying fertilizer, read the potting-mix label.
Some products already contain fertilizer. Adding more immediately without checking can result in unnecessary feeding.
A safe beginner routine is:
- Read the potting-mix label.
- Read the fertilizer label.
- Follow the manufacturer’s application instructions.
- Avoid assuming that more fertilizer automatically produces better growth.
The correct amount and schedule depend on the plant, growing medium, fertilizer formulation, and growing conditions.
Slow-Release vs. Water-Soluble Fertilizer
Slow-release fertilizers gradually provide nutrients over time.
Water-soluble products provide nutrients in a form that can be incorporated into a recurring feeding routine.
Neither type is automatically right for every plant. Follow the product label and plant-specific guidance rather than guessing at concentrations or feeding intervals.
Build a Simple Container-Garden Care Routine
A container garden does not need to become a complicated daily project.
The goal is to notice changes before they become larger problems.
What to Check Regularly
Every few days, or whenever conditions make it necessary, look at:
- Potting-mix moisture
- Drainage
- Visible pests
- Yellow, damaged, or unusual foliage
- Supports for tall plants
Periodically check:
- Whether plants are becoming crowded
- Fertilizer needs
- Whether roots are filling the available container
- Dead flowers or damaged growth
- Stakes, trellises, and ties
- Whether the container would benefit from repositioning
Plants kept in containers for longer periods may eventually need additional feeding, fresh growing medium, or repotting as their roots occupy the available space.
10 Container Gardening Mistakes Beginners Should Avoid
1. Choosing Plants Before Checking the Light
Your growing space should influence your plant choice, not the other way around.
2. Using a Container With No Drainage
For conventional pots, make sure excess water has somewhere to escape. Purpose-built self-watering systems are designed differently.
3. Putting Gravel in the Bottom to “Improve” Drainage
Gravel is not a substitute for proper drainage openings.
4. Filling Pots With Ordinary Garden Soil
A lightweight container-growing mix is generally better suited to maintaining drainage and air space within a pot.
5. Choosing a Pot That Is Too Small
Consider the plant’s mature size and root needs, not only its size on planting day.
6. Watering on a Fixed Calendar
Check the growing medium and current conditions instead.
7. Assuming Wilting Always Means “Add Water”
Wilting can have more than one cause. Check moisture before reaching for the watering can.
8. Leaving Ordinary Pots Sitting in Full Saucers
Saucers can protect surfaces, but accumulated water should not normally leave a conventional container continuously submerged.
9. Fertilizing Without Reading the Labels
Check both the potting mix and fertilizer instructions before adding nutrients.
10. Combining Plants With Incompatible Needs
Plants sharing one container should have similar light, water, and growing-space requirements.
Three Easy Container Garden Setups for a First-Time Gardener
Still unsure where to begin? Keep your first project small.
Setup 1: One-Pot Kitchen Herb
Good for a patio, balcony, doorstep, or another convenient outdoor location.
Use one suitable herb, a draining container, and quality potting mix. Place it according to its light needs and learn how quickly the growing medium dries in your conditions.
Setup 2: Sunny Vegetable Container
If you have suitable sun, try a compact pepper or a tomato variety recommended for container growing.
Check the specific plant’s requirements for container volume, support, sunlight, watering, and feeding before planting.
Setup 3: Decorative Flower Container
Choose flowers according to your actual sun exposure rather than appearance alone.
If you combine several plants, select varieties with compatible moisture and light requirements.
Beginner Container Gardening Checklist
Before you consider your first container complete, check that you have:
- Confirmed the available sunlight.
- Chosen a plant suitable for the location.
- Checked its expected mature size.
- Selected an appropriate container.
- Confirmed adequate drainage.
- Used container potting mix.
- Checked whether the mix already contains fertilizer.
- Followed the correct planting instructions.
- Watered after planting.
- Started monitoring moisture regularly.
- Planned feeding according to plant and product guidance.
- Allowed for changes in weather and plant growth.
Frequently Asked Questions About Container Gardening for Beginners
What do I need to start container gardening for beginners?
You need a suitable plant, an appropriately sized container with drainage, quality potting mix, access to water, a location with the right amount of light, and fertilizer when the plant actually requires it.
What are the easiest plants to grow in containers?
There is no universally easiest plant because success depends on climate, sunlight, container size, and care. Herbs such as basil, parsley, chives, thyme, and oregano are possible choices, as are leafy greens, compact vegetables, and locally suitable flowers.
Can I use garden soil in containers?
Container potting mix is generally the better choice. Ordinary garden soil can become too dense in a confined pot, reducing the balance of air and water that container roots need.
Do all plant pots need drainage holes?
Conventional containers need adequate drainage. Purpose-built self-watering planters are an exception because they use a reservoir and overflow system rather than functioning like a standard pot.
Should I put rocks in the bottom of a planter?
Not as a routine drainage strategy. Rocks or gravel do not replace drainage holes and do not improve container drainage in the way they are often claimed to.
How often should I water container plants?
There is no single schedule. Weather, pot size, container material, sunlight, wind, plant type, and other growing conditions all influence how quickly the potting mix dries. Check the moisture itself instead of watering automatically on specific days.
How much sunlight does a container garden need?
It depends entirely on what you are growing. Observe how much direct sunlight your space receives and match the plants to those conditions. Use plant-specific guidance for exact requirements.
Do container plants need fertilizer?
Many container plants eventually benefit from feeding because their roots are restricted to a limited amount of growing medium. Check whether your potting mix already contains fertilizer and follow the fertilizer manufacturer’s instructions before adding more.
Can vegetables and herbs grow together in the same pot?
They can when the container is large enough and the plants have compatible sunlight, moisture, and space requirements. Avoid grouping plants simply because they look attractive together.
Conclusion: Start With One Pot and Learn From It
Container gardening for beginners does not need to begin with a balcony full of planters.
Start with one suitable plant, one appropriately sized container with good drainage, and a quality potting mix. Put it in the right light, learn how quickly the medium dries, water according to the plant’s actual needs, and feed it only when appropriate.
Remember the basic formula:
Right plant → right container → good drainage → suitable potting mix → appropriate light → thoughtful watering → appropriate feeding.
Once you understand how that first container behaves in your home, adding a second or third becomes much easier.
Choose one plant you would genuinely enjoy growing and make that your first container garden. Then build from what you learn.